
3.27.2017
3.06.2015
3.02.2015
Get Messy || no. 03

This week's journal entry is a bit of a hodge podge. Sometimes when I feel a little stuck, I pull a bit of inspiration from multiple sources instead of just one. The really great thing about the Get Messy group is that you begin to amass quite a collection of art and journal prompts. That way you can always find something to get the ideas flowing.

I describe this as part reminder, part self portrait, part getting creative with paint, and part washi tape.
They don't really seem like they go together...especially the washi, but I had fun finding ways to incorporate it without it being too whimsical. I wanted to try and maintain an ethereal quality. The background was the best and most time consuming part. Working with acrylic paint can sometimes be a challenge. It doesn't blend quite like watercolors, it doesn't have a long working time, it lends itself to layering which is definitely my favorite way to use it. Color on top of color...really working it in, just going with whatever happens.

I added an old woodblock script stamp to emphasize the worn vintage look I was trying to create. In order to get it to fade away, I stamp it off a bit and dab away ink in random places. The trick is to get it to stamp unevenly. I also like to incorporate my own handwriting in pencil. I was trying to get it to look almost like an old love letter. The words above the photo read" "whatever i am is enough."
The photo is a picture of me, switched to black and white and printed on printer paper. The thinness of the paper almost gives it a translucent quality. I adhered it and painted over it using gel medium which is great as an adhesive, but also shows off brush strokes...which is really why I used it. The washi was added to give a bit of a modern touch...the color, the straight lines...I was really happy with how it turned out.
2.24.2015
Get Messy || no.02


I used the word "you" as both my art and my journaling. I wanted to capture the feeling of devotion and selflessness that are components of my own personal love. The word "you" is the ultimate expression of that as opposed to the words "I" or "me." Not being terribly adept at brush script, I decided to wing it without practice. I wanted to capture something that had fluidity and wasn't absolutely clear which is why I allowed the edges to bleed. I wanted the letters to appear as shapes with movement rather than a clear word. I kept the background clean creating minimal texture using paint. The words obviously are quite simple and get straight to the point. I love the idea of destiny and it was to that which I was referring.
Get Messy || no.01
The theme this season is Love and the prompts have been superb. I love having a jumping off point and something to ponder while I come up with an idea. Like most of my pages, I often start with words...either my own or a fitting quote, lyric or excerpt from a beloved book. I then create imagery that I feel supports the word. This is where I really get to challenge myself.
My first entry is a single page which I do create from time to time. I used my handmade journal for this one. The words read..."You have to keep breaking your heart until it opens." This is a quote by Rumi that I came across on Pinterest. I believe it to be true. Heartbreak is an intrinsic part of love and can help one open up to something deeper and infinitely sweeter. I used small bits of paper in a similar color palette to create layers. I wanted the papers to scatter from a single point mimicking the look of something shattered or broken.


"Turns out, the heart must be broken into a million pieces in order to reveal your inner light. In that light, you'll see your true self resting and at peace-she has no judgement she is accepting and she is full of love."
1.19.2015
this is happening

Yup. It's been over a month since I last blogged. Let's call it a winter break shall we:) During my respite, I moved to a different city as noted in my last post, I drove through half the country...the upper western half and I got a month long flu. I know, I know...that's all so 2014. I am now firmly ensconced in my lovely Chicago neighborhood. I've already slipped while walking the dog...definitely a rite of passage for me. I still have far more boxes to unpack than I care to disclose. I am currently flue free...thank the heavens! and I'm thrilled and humbled to be contributing to the new Get Messy as a creative team member.
Oh Yes! You read me right. I am on my very first creative team. More than 20 years after playing in my first art journal which was really just a spiral notebook, I am now excited to be sharing my actual work. Art journaling is not just a form of messy scrapbooking, although it certainly could be if that's your thing. Art journaling is expression, it's no rules, it's experimental, it's liberating, it can be sparse or full of color, layers and texture, it's intense, it's celebratory, it's cathartic whether you speak through words or images...through layers of paint or ripped pages from books. It is poetry laid flat and covered in gesso. I don't use it to preserve my memories...I use it to process them, to explore my present and daydream about my future. It is everchanging...just like me.
If you find the idea of art journaling fascinating, you are right. It is. If you are interested in being part of a community...then the Get Messy Group might be for you. I am happy to have found it. I am happy to be sharing, and I hope that we can be friends...that we can inspire each other, and we can both...in our own little corners of the world, create, share and get messy.
11.09.2014
gone girl
Did you know the term "jazz" was coined in Chicago back in 1914? When I think of that place, I think of the Blues, Oprah, hot dogs, snow, the Obamas, Ferris Bueller, Al Capone, Second City, Kanye, did I mention snow?

I have spent 5 years in Seattle. Seattle was a surprise. I expected it to rain more...Atlanta still wins when it comes to rain...at least in my somewhat limited experience. As a nature lover, Seattle is pretty close to heaven and when the sun is out...you bet this city sparkles. The people here are tough nuts to crack...and I don't really like cracking shit. That said, I made some good friends and will leave here feeling like I got to live in a really special place.
Life brought us here and here has been a wonderful revelation, but it's time to go. My husband works in advertising, I work in graphic design. Other than being settled, there's no real benefit to staying with the same company for 20 years. We weren't looking for anything else, but when we got a call out the blue...well, they made us an offer we didn't want to refuse. So we are off to Chicago. Thankfully we have a few friends there, but I've never even visited the city.
I'm ready for a new revelation. To live somewhere I've never been. It's one thing to visit a city, it's something else to actually live there. I love the newness of it. I love all the learning. It's incredibly stimulating. I'm not as socially awkward as I used to be and I think that has a lot to do with all the moving. Moving as an adult comes with a whole slew of challenges, but I'm okay with that. Life is full of possibility.
I will be documenting this whirlwind move as I have in the past. We've got about two weeks with Thanksgiving falling right smack in the middle. You can read more about my other moves here and here. I will also be driving from Seattle to Chicago with my dog. EEK! So if you live in Chicago, let's be friends. I'm gonna need someone to show me the ropes:)
11.04.2014
november instagram giveaway
I am in mad purge mode right now, but it's super hard to just get rid of things that have never even been opened. UGH. I am just overwhelmed by stuff and it's time to lighten the load. Now, a lot of my stuff is older and a lot of it is no longer available so if you've been on the hunt for something...it very well may be in one of these medium Priority mail boxes. While I can't list every little item in the box...I did take some pictures...and it's free so you get what you get. What I can say is that I take care of my stuff, so even if something is lightly used...like a stamp, I can promise you it was cleaned immediately after. I'm a bit nutso about that kinda thing. While I am giving these boxes away, I am asking that you pay 12.50 for Priority shipping. The contents are worth way more than that so it is definitely a bargain if you are looking to add some "new to you" stuff to your papercrafting stash.
This is an instagram giveaway so if you want one of the boxes or all of the boxes..be sure to like or comment over there. I will choose a winner on Wednesday at noon PST time and send you a heads up. Once the shipping is paid your box will head right out the door:) If shipping isn't paid within 24hrs of me tagging you via instagram I will choose someone else.
the label box:
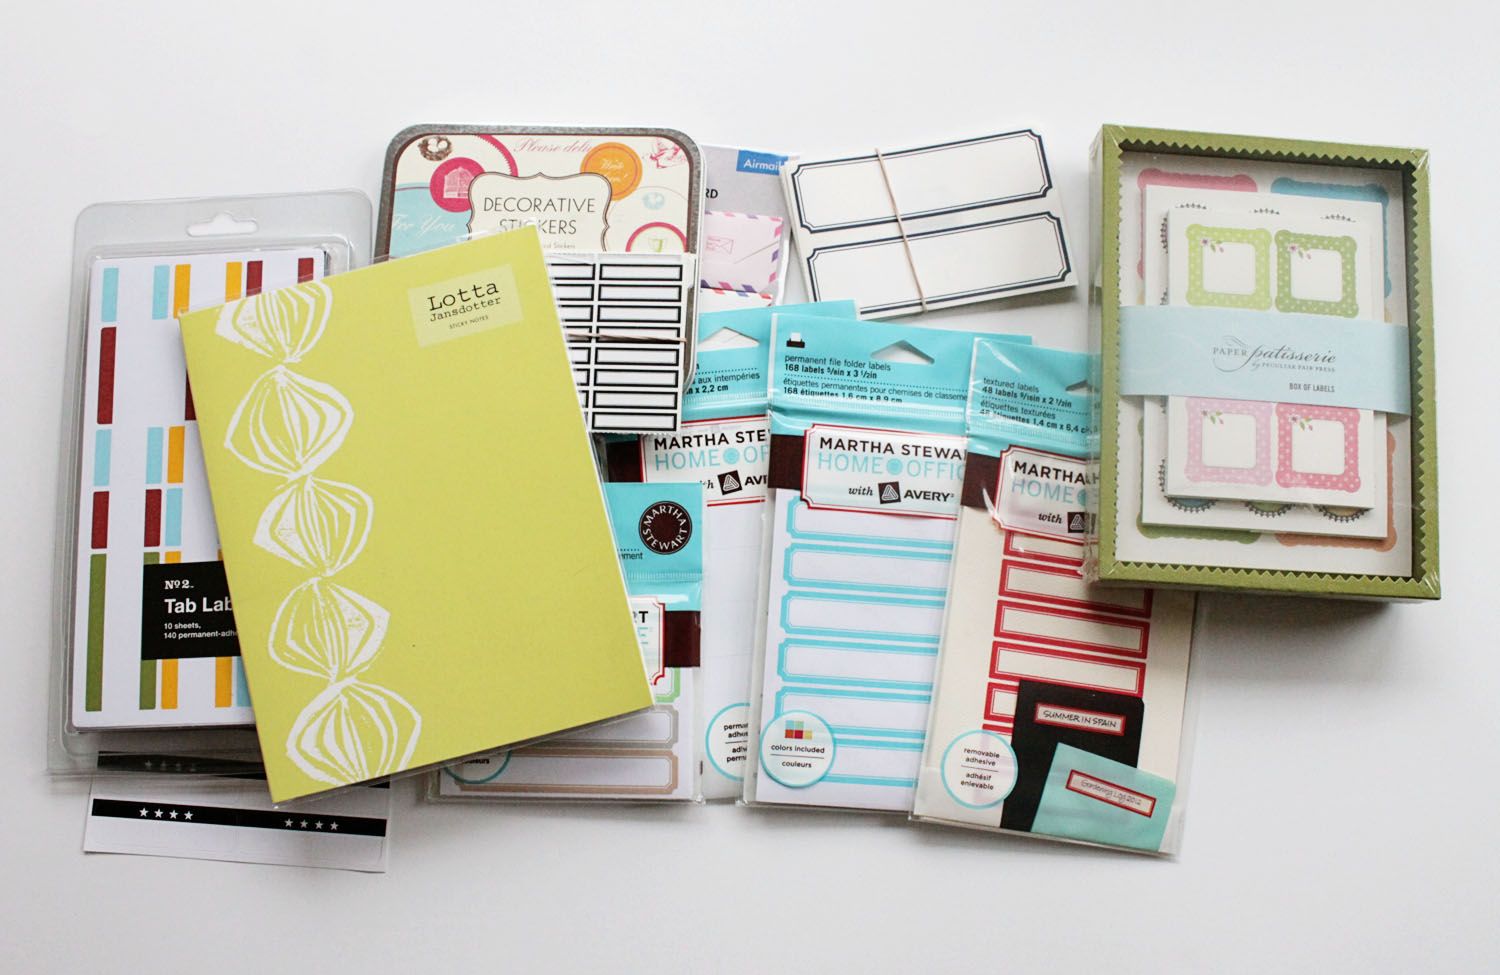
for the letter sender, the planner addict, the cardmaker or the label hoarder. This box is packed with tons of labels and sticky notes in all shapes and sizes.
the embellishment box:
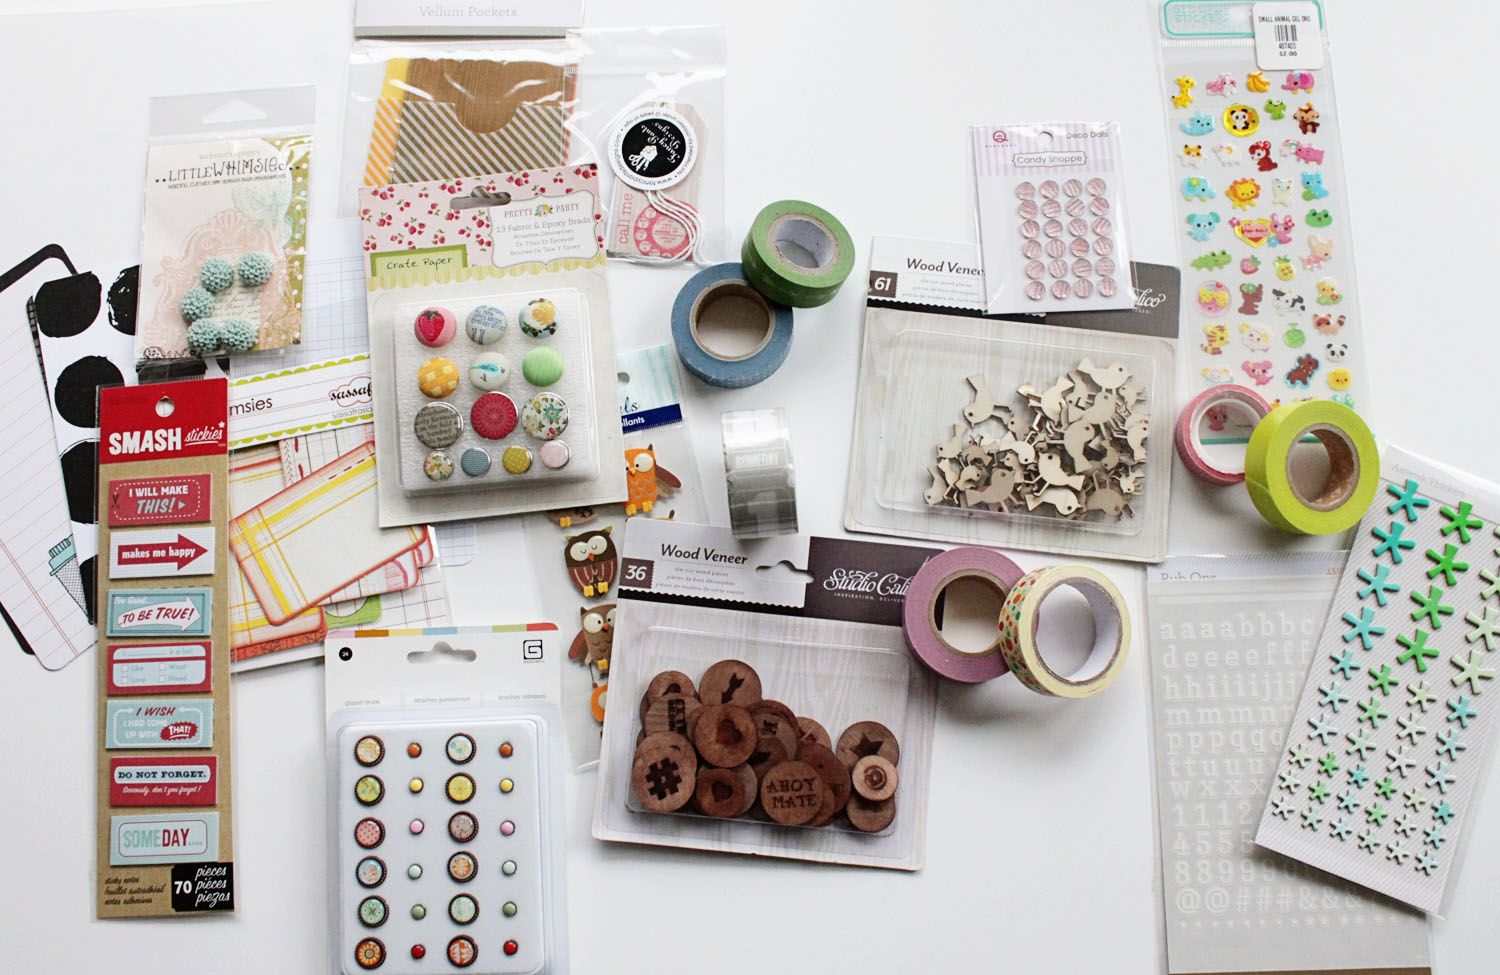
for people who love stuff that makes other stuff pretty:) This box is packed with stickers, wood veneer, diecuts, journal cards, brads, buttons, washi and more...
the Holiday box:
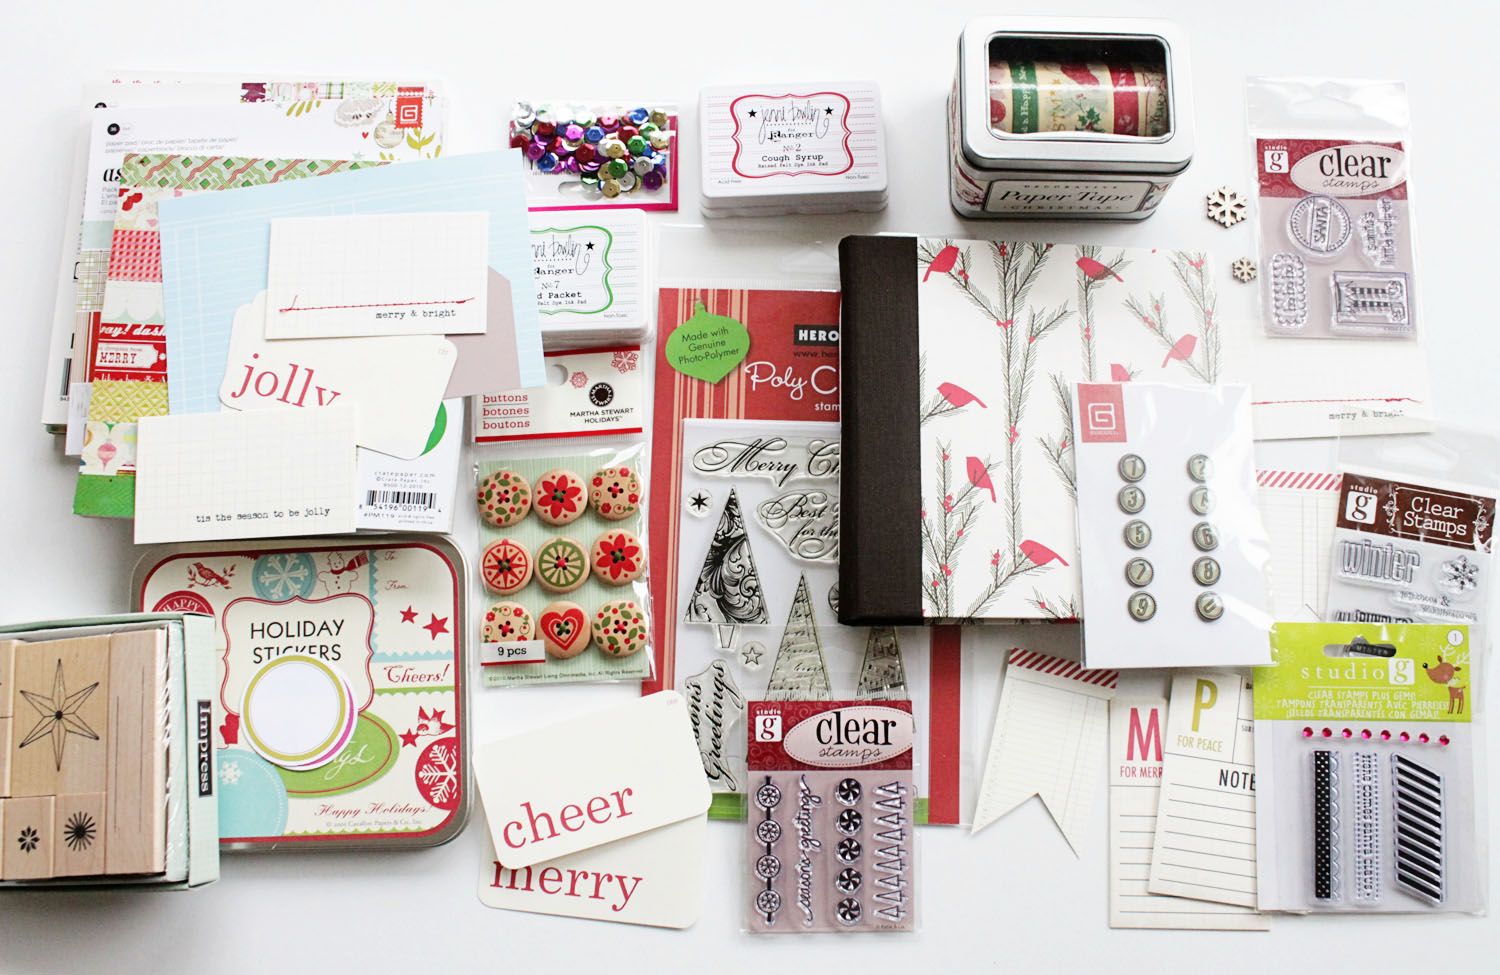
kinda like a super jumbo kit of Holiday goodies. This box is filled with very lightly used 6X6 paper pads, lots of never used stamps, stickers, diecuts, embellishments, and a bunch more. This box even includes a mini album I made and never used.
the stamp box:
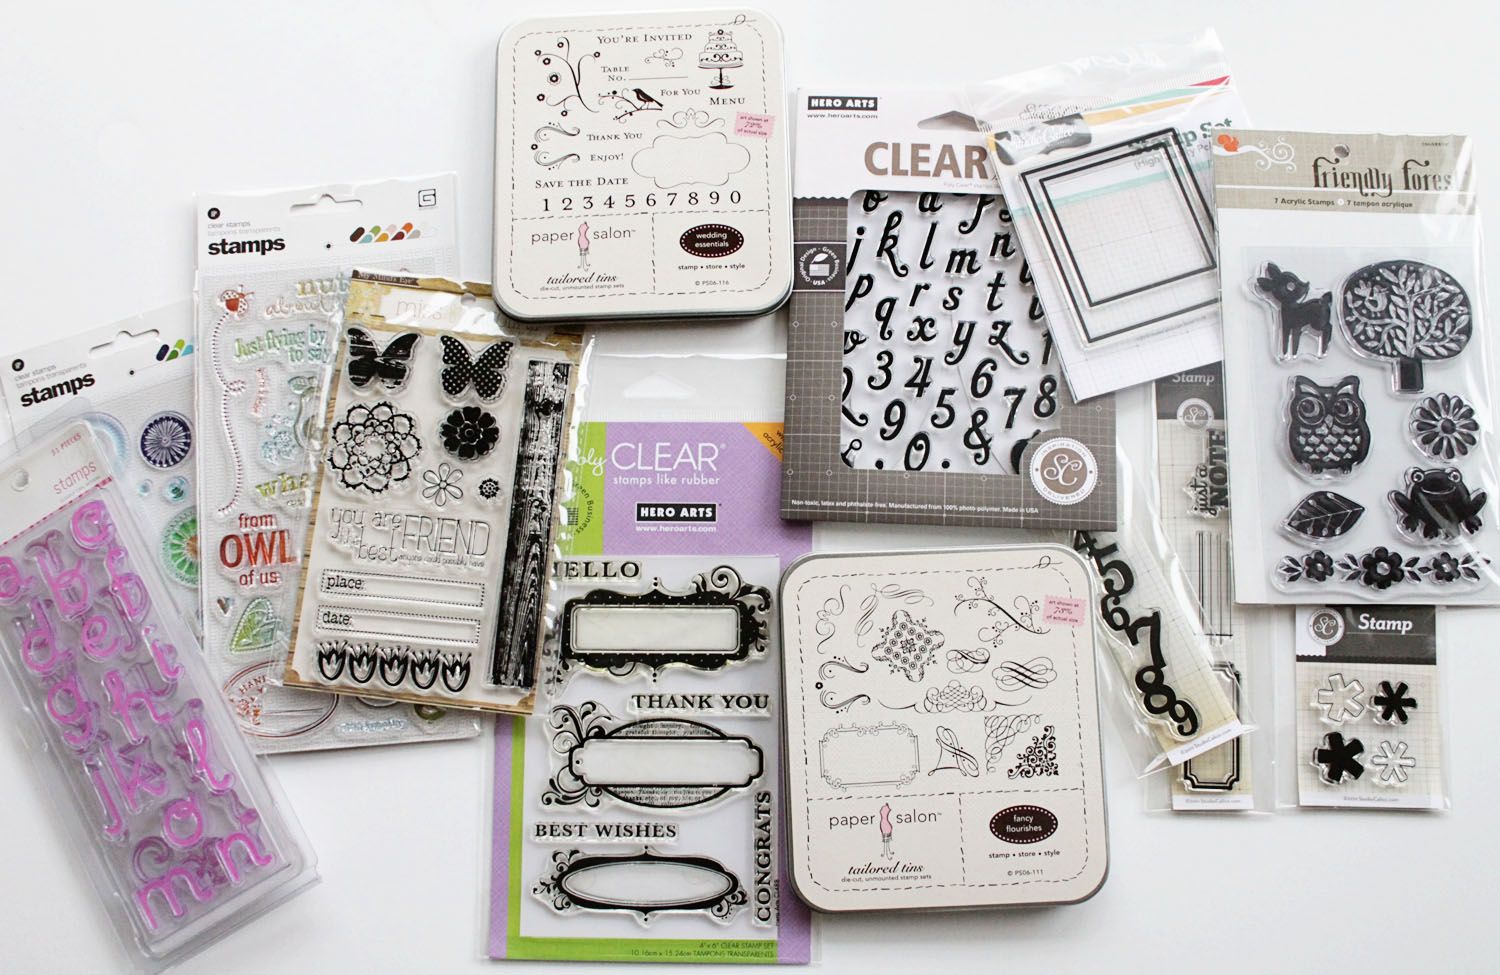
lots of clear and cling stamps. Some of which are no longer even sold. Most of which have never even been used. All in spectacular condition. I threw an acrylic block in there too:)
the stationery box:
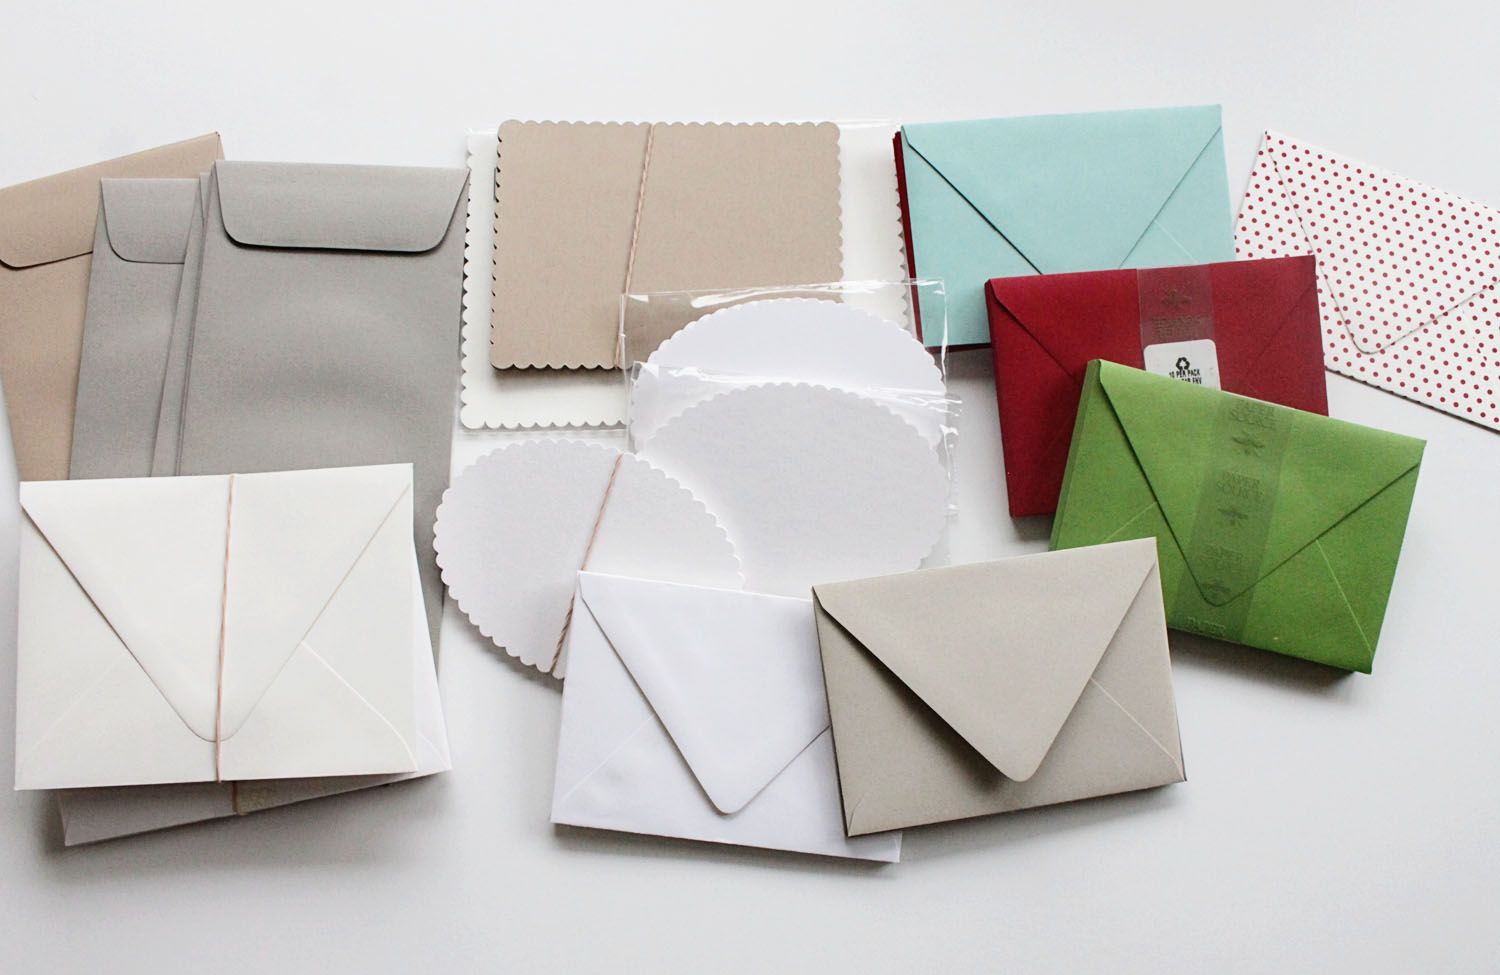
from my days at Paper Source. This box is filled with folded cards, flat cards, A2 and 4 Bar mostly. All in excellent condition ready for the cardmaking and note sending to commence.
Oh...and while it certainly isn't required, if you're not already following me on Instagram, it would be nice if you would:)
This is an instagram giveaway so if you want one of the boxes or all of the boxes..be sure to like or comment over there. I will choose a winner on Wednesday at noon PST time and send you a heads up. Once the shipping is paid your box will head right out the door:) If shipping isn't paid within 24hrs of me tagging you via instagram I will choose someone else.
the label box:
for the letter sender, the planner addict, the cardmaker or the label hoarder. This box is packed with tons of labels and sticky notes in all shapes and sizes.
the embellishment box:
for people who love stuff that makes other stuff pretty:) This box is packed with stickers, wood veneer, diecuts, journal cards, brads, buttons, washi and more...
the Holiday box:
kinda like a super jumbo kit of Holiday goodies. This box is filled with very lightly used 6X6 paper pads, lots of never used stamps, stickers, diecuts, embellishments, and a bunch more. This box even includes a mini album I made and never used.
the stamp box:
lots of clear and cling stamps. Some of which are no longer even sold. Most of which have never even been used. All in spectacular condition. I threw an acrylic block in there too:)
the stationery box:
from my days at Paper Source. This box is filled with folded cards, flat cards, A2 and 4 Bar mostly. All in excellent condition ready for the cardmaking and note sending to commence.
Oh...and while it certainly isn't required, if you're not already following me on Instagram, it would be nice if you would:)
Subscribe to:
Posts (Atom)