
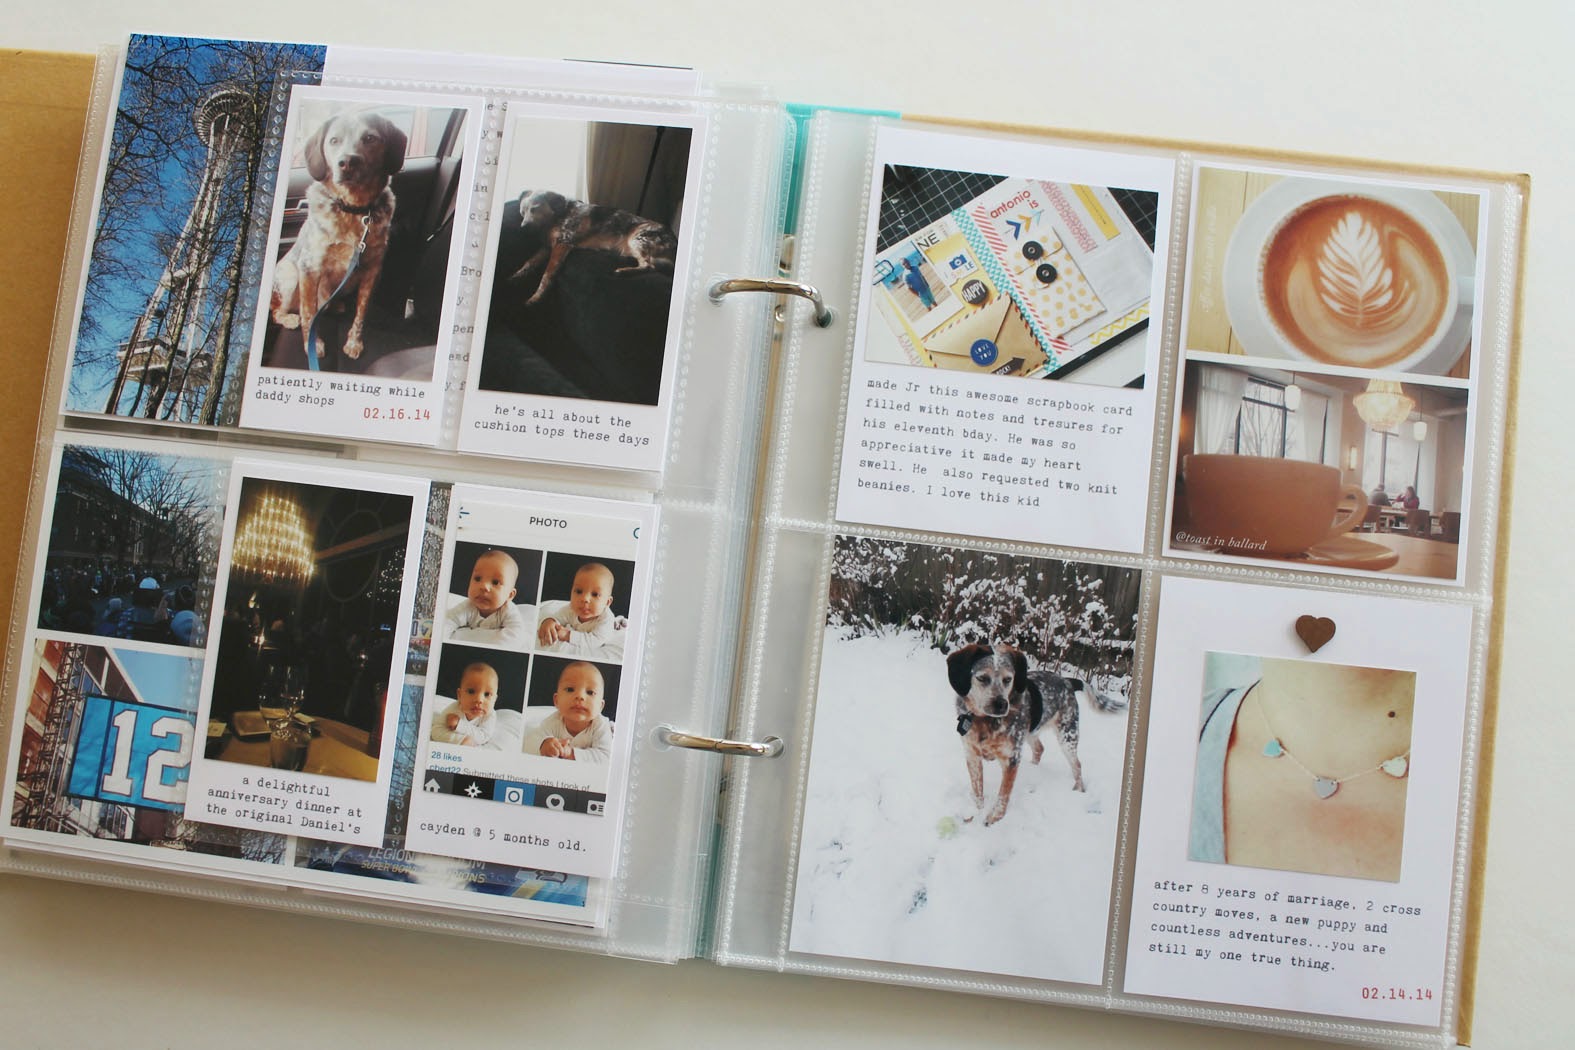
edited to add: a few people asked about the page protector to the left in the above photo. It is actually made for business cards and I got it at Staples. I just cut it down from 8.5x11 so it would fit in my book. I turn it to the side and punch holes. The top two pockets are open on the bottom...it may seem like the photo would slip out but that never happens since the cards on the other side keep things pretty snug. I modified my pictures so they would look like Instax photos...but they're not:)
Because I update my album monthly, I am always working a month behind. I love it...for me it means that I can relax, take pictures, and just let life happen. I use a small notebook to jot down highlights...it's not a journal or a date book, it's just for things I might forget. I don't even concern myself with the current month until it's over. Once the new month begins I begin my process... usually within the first week.
Step 1. I transfer photos from my devices to my computer. I save to an external hard drive at the same time. Sometimes this is all I do on a given day. It helps to break things up a bit.

Step 2. Using Aperture, I clear out the pictures I don't want and I place the ones I do want into an album titled "month_year." I occasionally edit my photos in Aperture using VSCO, but this is rare. I simply prefer and am more proficient in Photoshop. I create a new folder and export the images I want to use into that folder. I then edit using Rad Lab. I always edit a bit...it makes up for my less than stellar photography talents. I stash any ephemera I have in a MS zipper pouch.

Step 3. I draw up a little sketch of where I want things to go and then crop accordingly. Because my style is so basic, I use a handful of different designs over and over. At this point I work on adding journaling...some directly to photographs...some on journal cards in Illustrator. I know that there are people who add journaling the way I do using apps on their phone and just printing the whole thing out, but I don't.
Step 4. I print my pictures separately and then adhere them to plain white cards that I've already printed and cut. It might seem a bit inefficient to print them separately, but it's my process and it works and it allows me to utilize every inch of photopaper for pictures.

Step 5. Once I have all my photocards completed, I look them over and see if anything needs to be added. Usually I keep things basic...occasionally I'll add a label, a bit of flair or some wood veneer or washi...but more often I just slip them into the page protector and call it done.

That's it. 90% of the work takes place even before the pictures are printed out. From start to finish it takes me no more than a few days. I know this isn't the most creative process...I don't use that much stuff, but that's not what it is for me right now. I get creative with other parts of this book...but I'll leave that for part two.
.......................................................................................................................................................................
The winner of the giveaway was Rhonda Nichol.
- rhonda nickol said...
- Right now my go to essentials are my stamps, mist/spray
paint, wood veneer,labels/tags esp. Bananfish(my favorite),tiny attacher
and i recently found a liking for doilies and enamel dots. I love
adding some of these items to projects, I like alot of detailing to
projects. Gotta start using my stash!